The short version
- Take wide, medium and close shots of each area
- Photograph soft metals, vents and gutters
- Date and label your photos
- Never risk a fall for a photo
Start from the ground
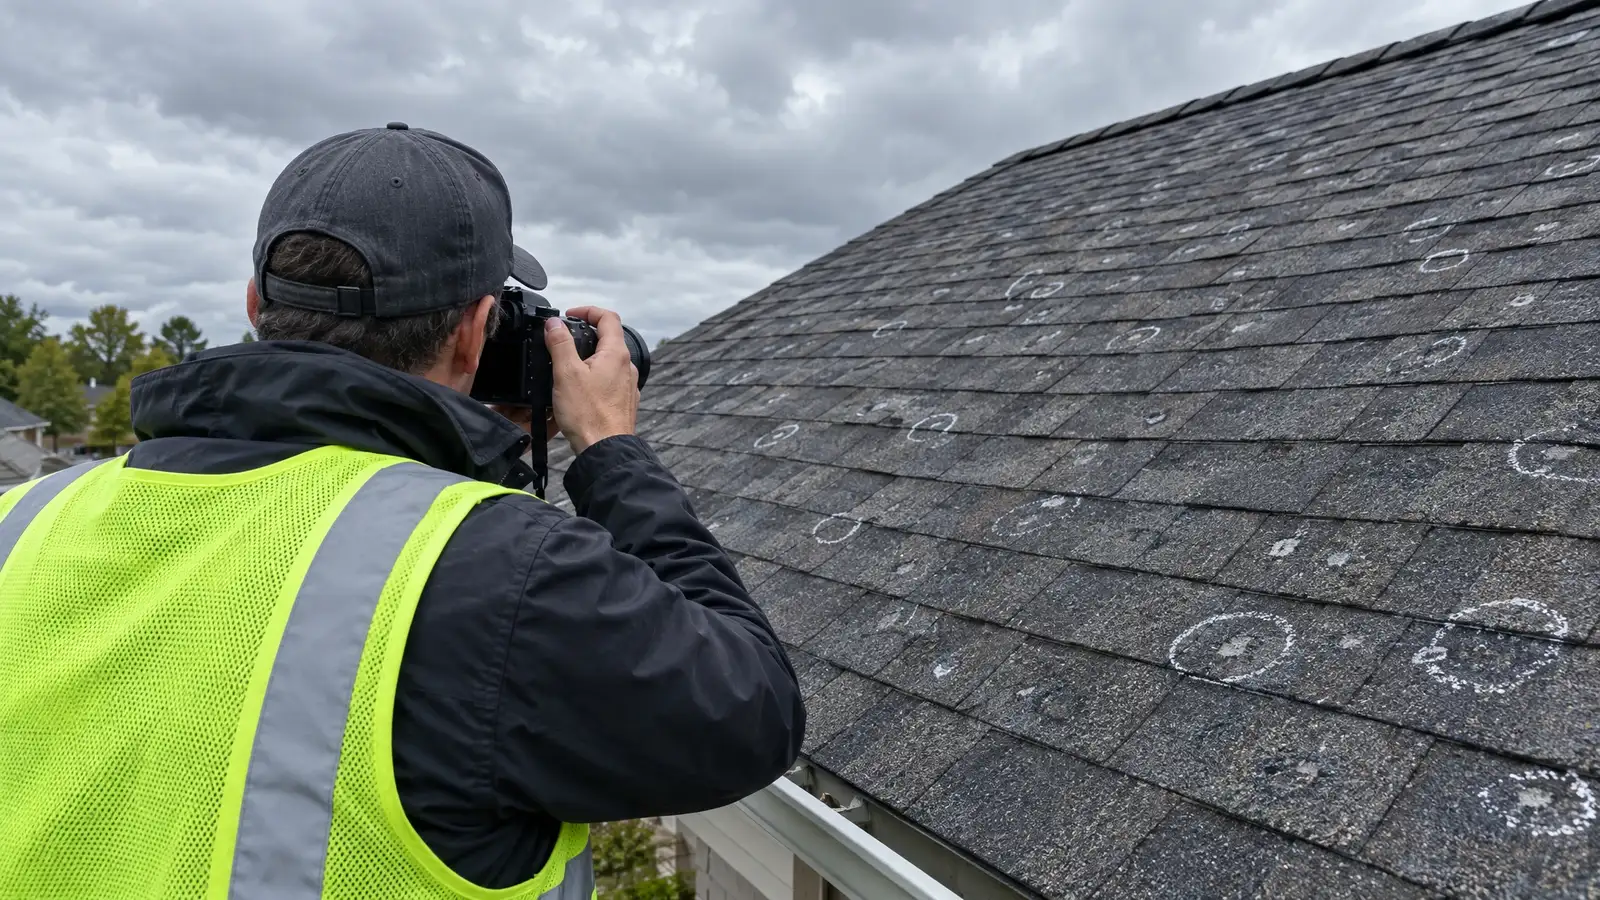
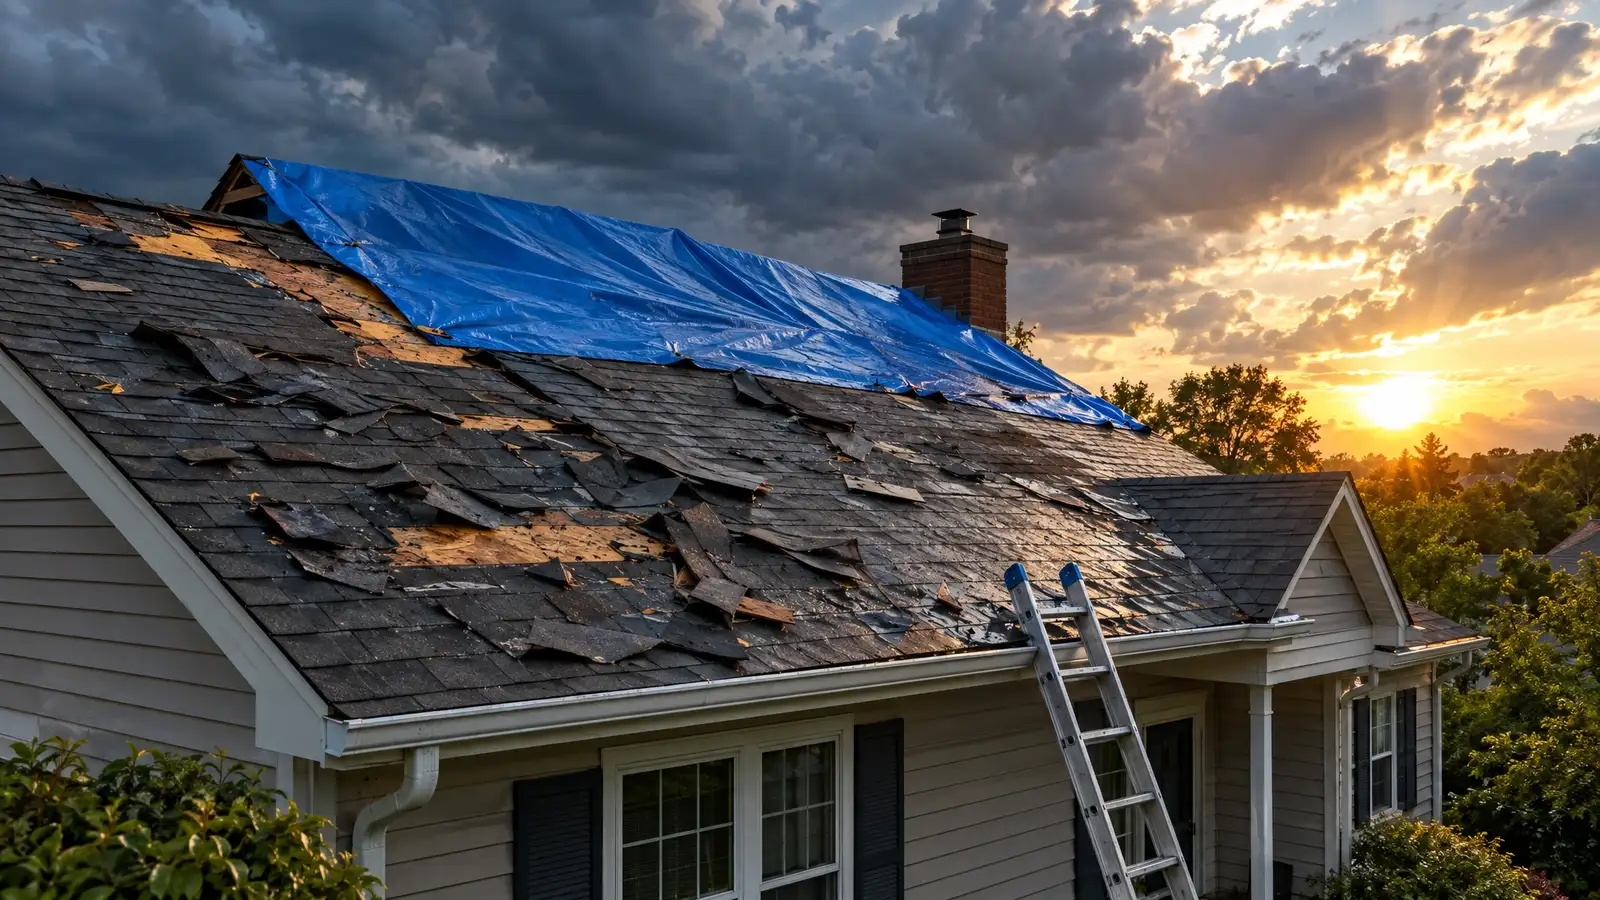
Photograph each side of the house to show the overall roof, the yard debris and any visible damage. Use a zoom lens or binoculars rather than climbing. Take pictures in good light, ideally early or late in the day when shadows show texture.
Include the whole house in at least one shot.
Close and medium shots
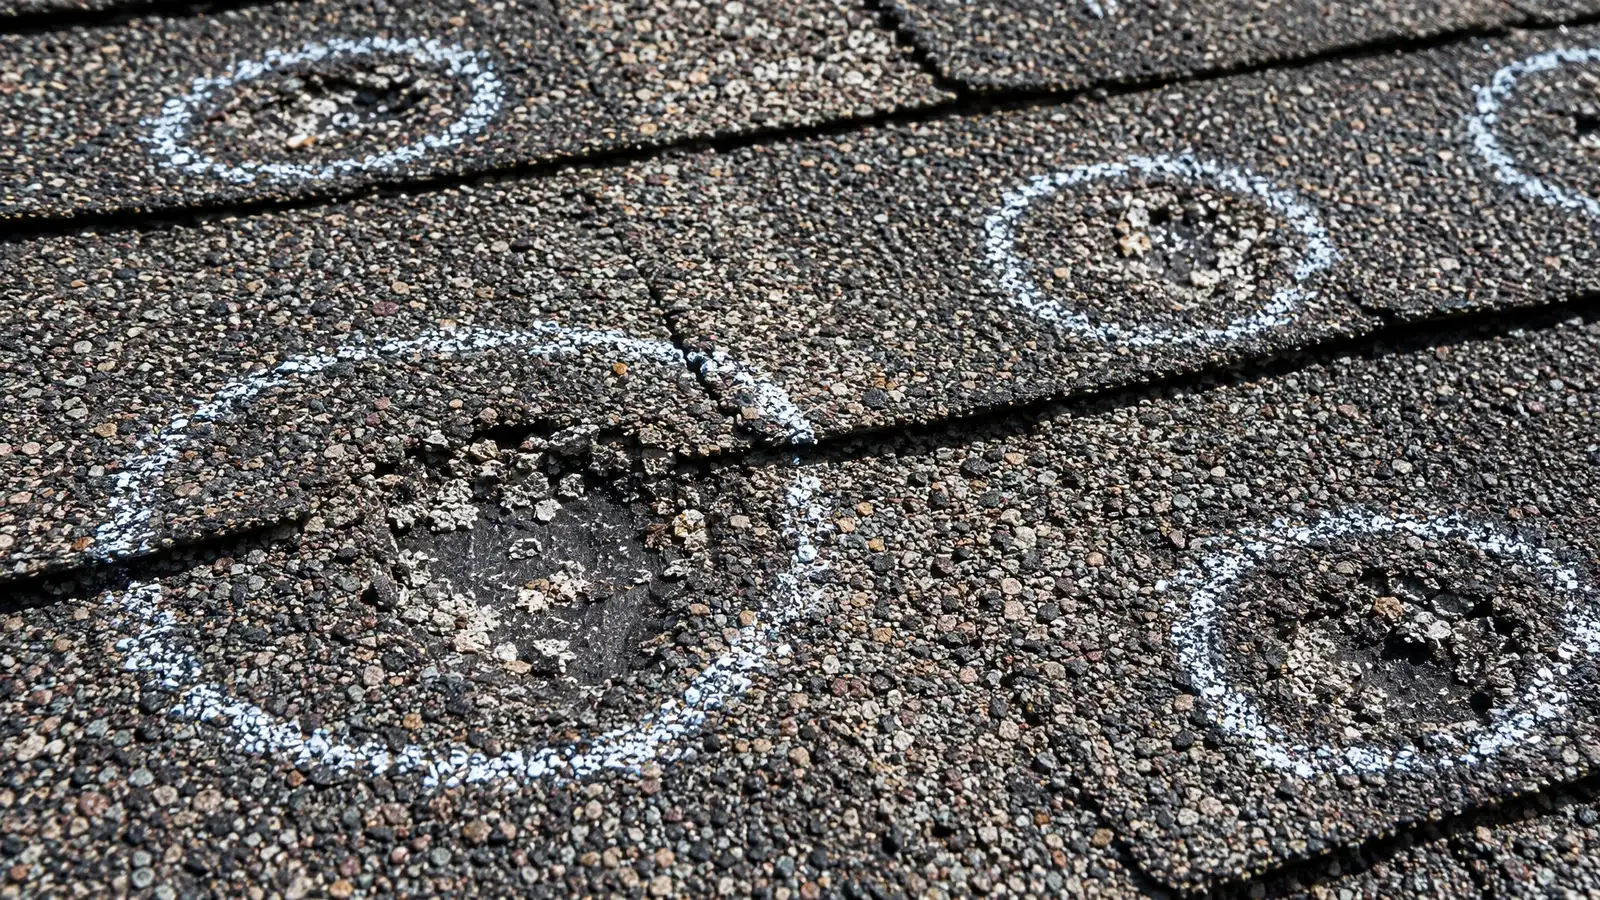
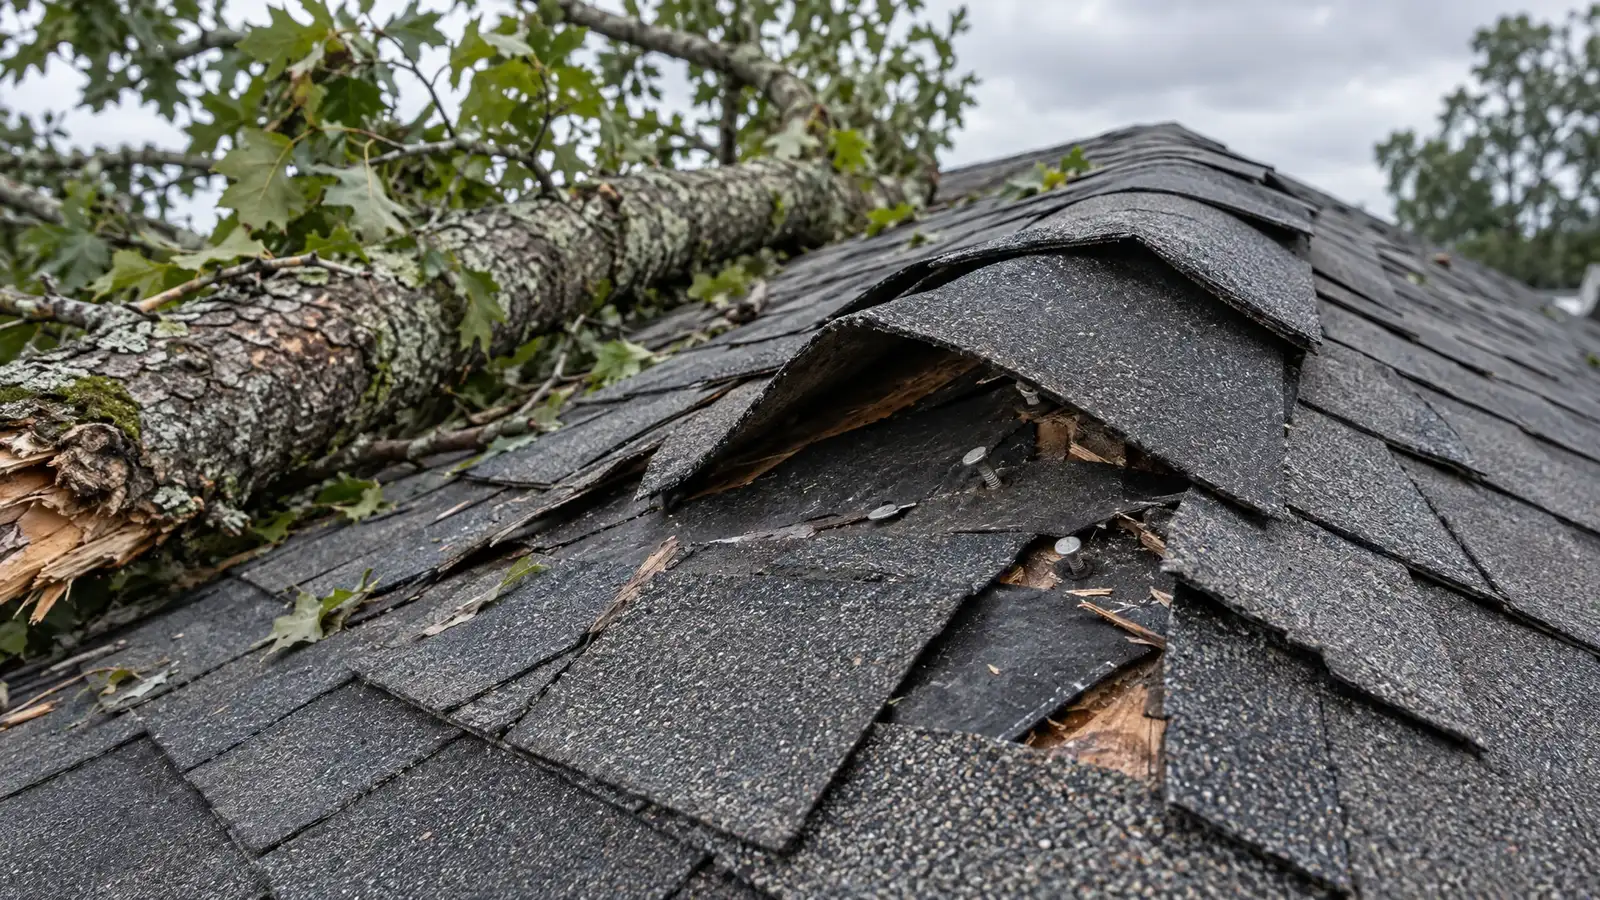
For each damaged spot, take a wide shot to show location, a medium shot to show context and a close-up to show detail. Put a coin or a ruler next to a hail mark for scale. Mark damage with chalk on accessible areas.
Photograph soft metals such as gutters and vents too.
Inside the house
Photograph ceiling stains and wall damage from a few angles and note their size. Photograph attic stains and wet insulation. Keep records of dates and weather.
Moisture readings from an inspector add objective data.
Organize and keep
Keep photos in dated folders, back them up and note storm dates. Do not edit or filter them. A professional inspection or drone survey adds coverage you cannot safely capture yourself.
Organized evidence makes every later conversation easier.
General information, not engineering, legal, insurance or safety advice. Roofs, policies and local requirements vary, and every roof should be judged on its own condition.